Drawing things in nature is easy when you start with basic shapes. Shapes show the petals of a flower. Sketch these shapes lightly. Then you can erase them later as you finish your picture.
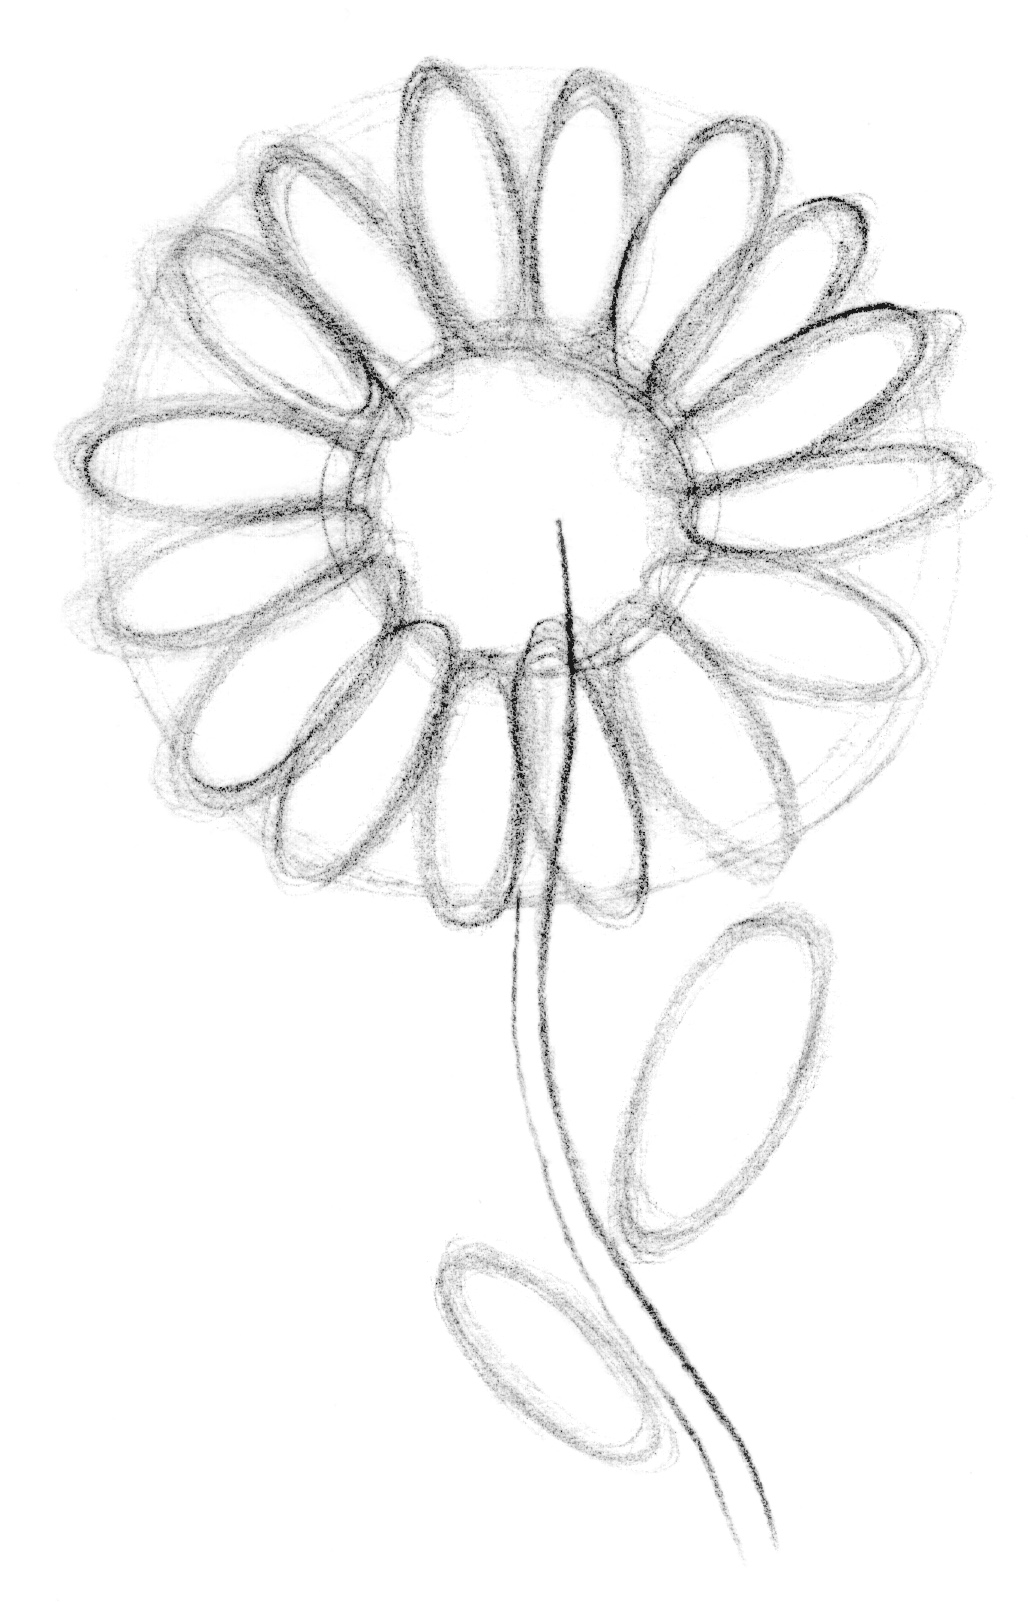
1. Start by sketching a circle for the center of the flower. Next draw an oval shape for a petal. Notice how it overlaps the center. Sketch a larger circle as a guideline around the outside tip of the petal.
 2. The guideline will help you make all the petals about the same size. Continue by drawing more petals, as shown below. Overlap the ovals to show how petals rest on top of each other. Use curved lines for the stem and oval shapes for the leaves.
 3. Drawing an outline around the edge of the shapes you’ve made forms the flower. Keep drawing until you like the outline. Remember to draw lightly so that you can erase if you need to.
 Take time to look at the shapes you’ve drawn for the flower. Do you like what you’ve drawn? Continue by carefully drawing an outline around the shapes. Draw lines that show petals overlapping each other. Some petals are hidden behind others. Next, draw the outlines for the stem and leaves. Notice how the leaves are shaped differently from the petals.
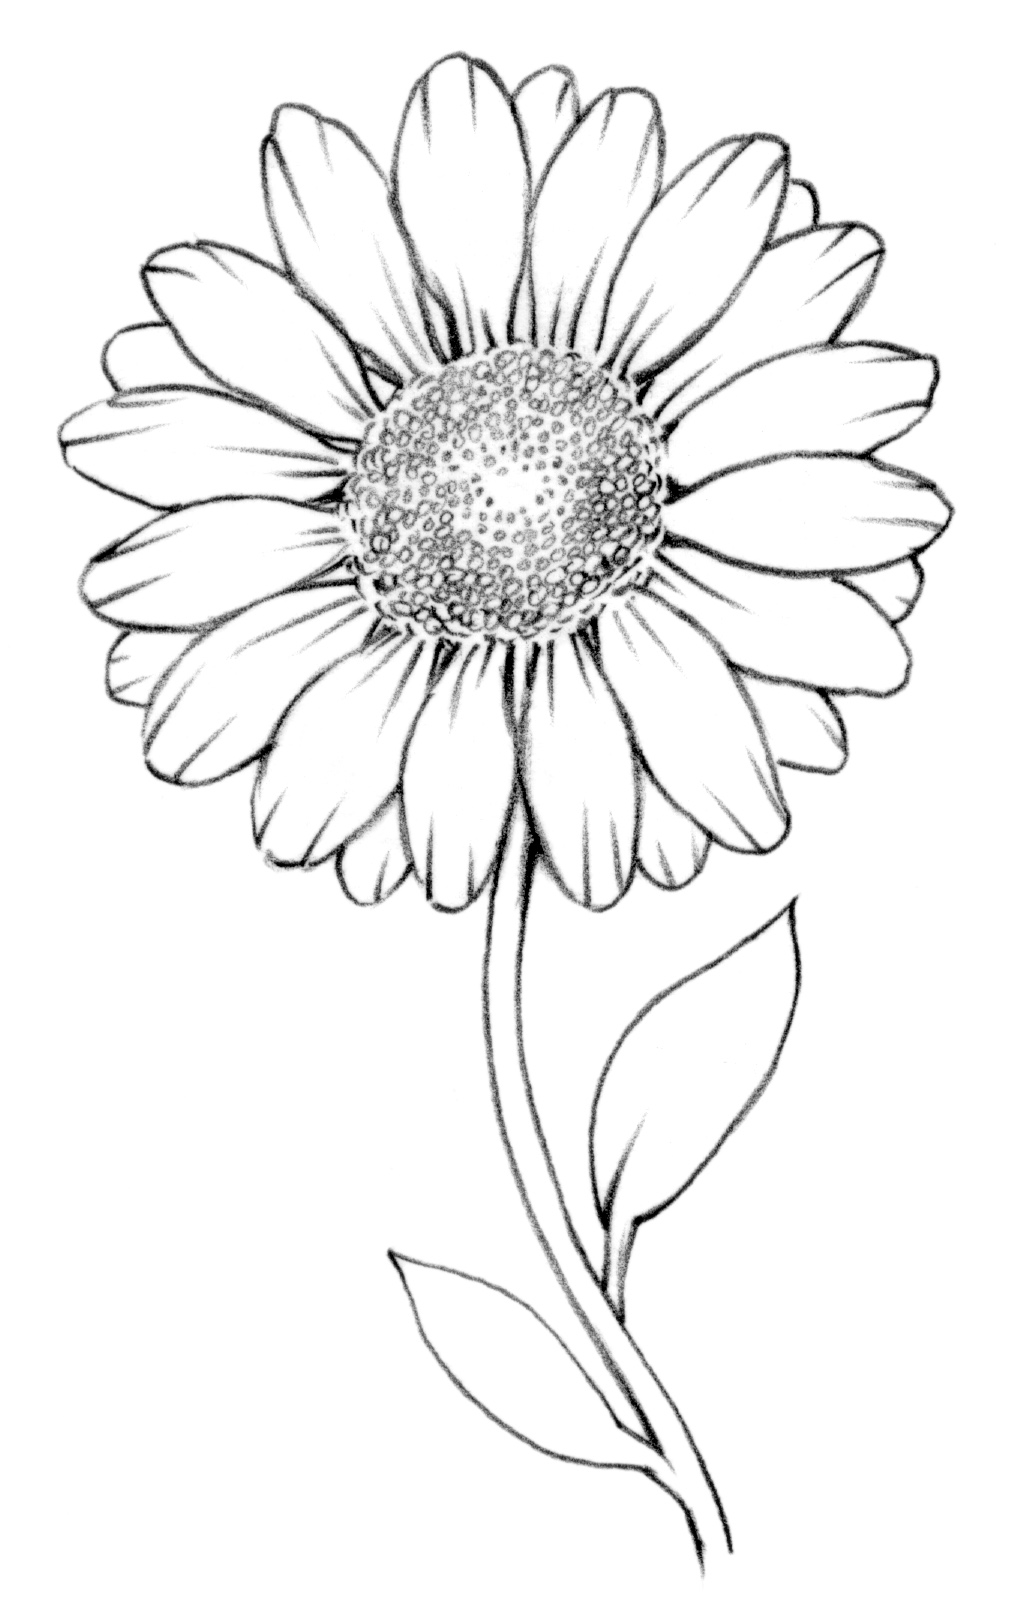 4. Using angled and curved lines, draw a darker outline to finish your picture. Draw lines to show the edges and folds of the petals. To draw the center, repeat small circles to make a pattern. Carefully draw the curved lines for the stem and the edges of the leaves.
Send your flower to drawing coach, Rob Court, for Comments: Contact
Now Draw a Dragonfly!