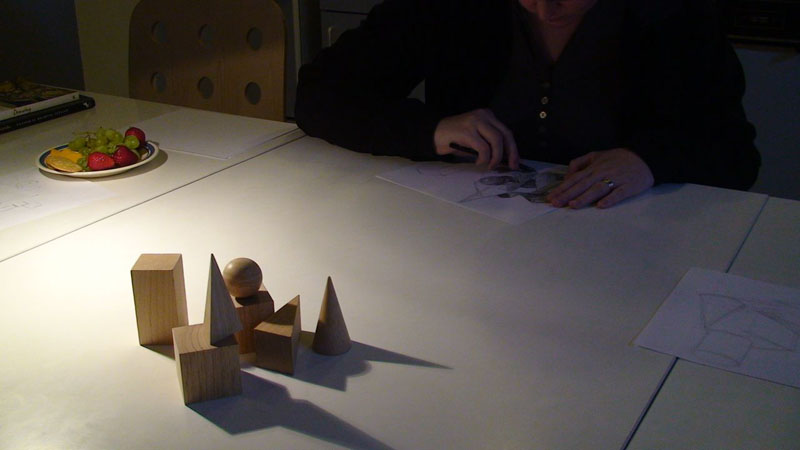
The very first thing my students learn is how to hold the pencil on its side while drawing basic lines and shapes. The overhand grip, as it’s called in the art world, is a bit awkward at first. But with practice, it quickly becomes second nature to sketchers. One advantage of the overhand grip is how much easier it is to create sweeping pencil strokes and large shapes. Another advantage is that you gain control and flexibility of your wrist when drawing angled and curved lines. You’ll also see increased sensitivity and control when varying line widths and adding tonal values (shading). And the overhand grip is less fatiguing, allowing for longer, more relaxed drawing sessions.
Shown in the photo above, Drawing Lab student, Kirsten, demonstrates how resting a fingertip on the paper helps to stabilize the drawing hand when accuracy is needed. As students progress, they learn to switch from the overhand to tripod grip (standard writing grip) when working on smaller details; then move to an underhand grip when opening up with broad strokes at an easel.
I’ve taught these techniques to hundreds of students in Santa Cruz and Monterey counties. The following photos show some of them using variations on getting sideways with their pencils. Give it a try! Experiment with extending your grip to the end of the pencil, changing the angle of the pencil, and changing the position of your fingers. If you have questions or comments, I’d love to hear from you.
Getting Started:
1. Have a fairly sharp point on the pencil so you can use the side of the pencil point.
2. Relax your fingers. The pencil should almost fall from your fingertips.
3. Practice large ovals on a sheet of paper. Also try patterns of angled and curved lines. Keeping your hand and arm off the paper, move your whole arm when drawing. (This takes some practice to get used to.)
4. Start with the pencil touching lightly on the paper; then, little by little, put more pressure on the pencil, creating darker lines and shapes.
5. Rotate your pencil every 5 or 10 strokes to maintain a sharp point.
6. Enjoy!
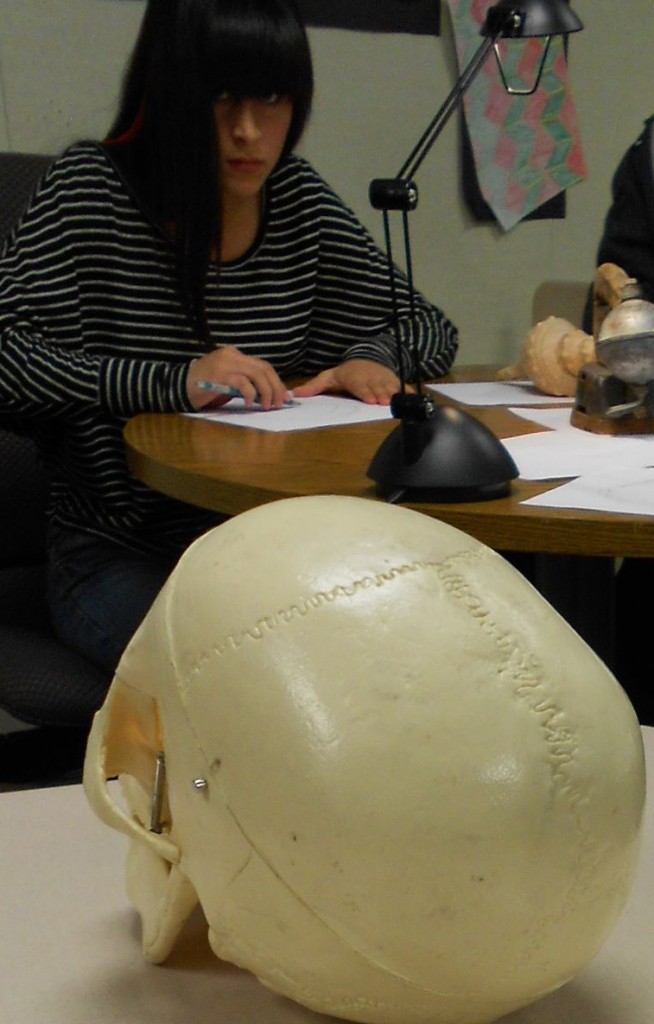
Julia, at Salinas Community school, in classic overhand grip, ready to attack her study sketch of the skull.
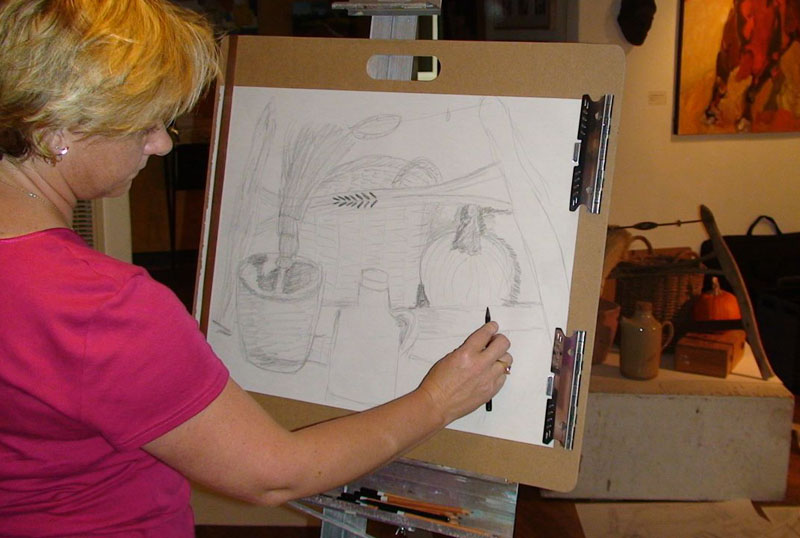
Helen, during our classes at the Santa Cruz Mountains Art Center, glides through mapping out a still life. Drawing, while standing at an easel, is much easier and more enjoyable when using the overhand grip. The underhand grip also works very well for pushing and pulling your drawing tool across large compositions.
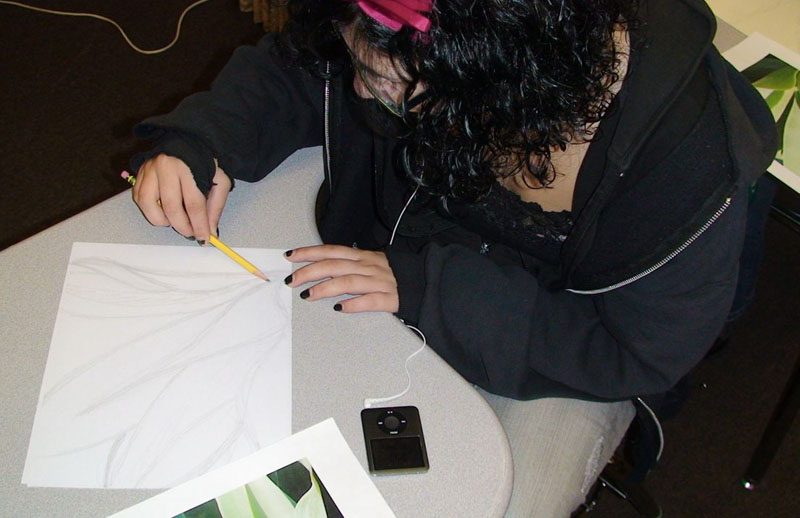
A Star Community school student extends the overhand grip for control on curved contour lines of an aloe plant. Notice how relaxed her drawing hand is. (Good music always helps in learning to draw!)
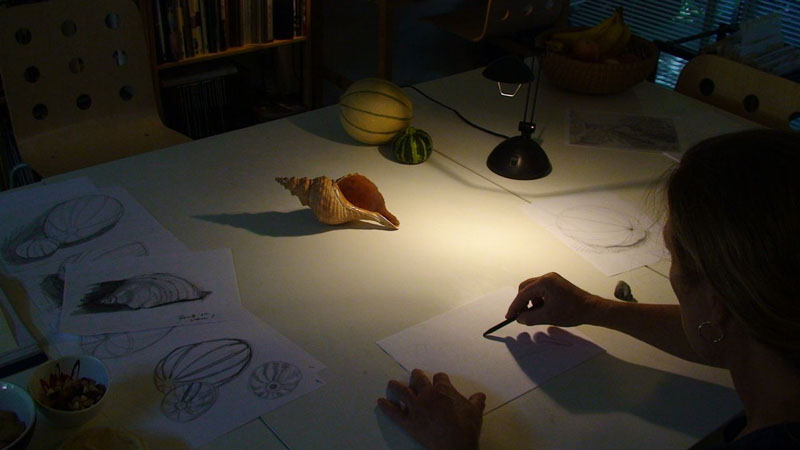
In the Scribbles Institute studio, Karla shows excellent overhand technique with an extended grip. Notice how her arm is off the table while sketching initial large shapes of a shell.
Megan adds bold pencil strokes with care and accuracy. Note her excellent underhand technique of holding a snickerdoodle cookie in her left hand while drawing. She is working on a lesson about positive and negative space.
Casey shows how an elbow resting on the table can be used as a pivot point for the whole arm while drawing.
Rob Court
Latest posts by Rob Court (see all)
- Drawing With Friends - April 11, 2022
- Frozen in Time: Cellphone Users as Models to Draw - April 8, 2022
- Getting Out & Getting Real - June 20, 2021
- Life Lines: Sketching the Unseen World of Movement - June 20, 2021
- The Ups & Downs of Urban Sketching - May 9, 2021

