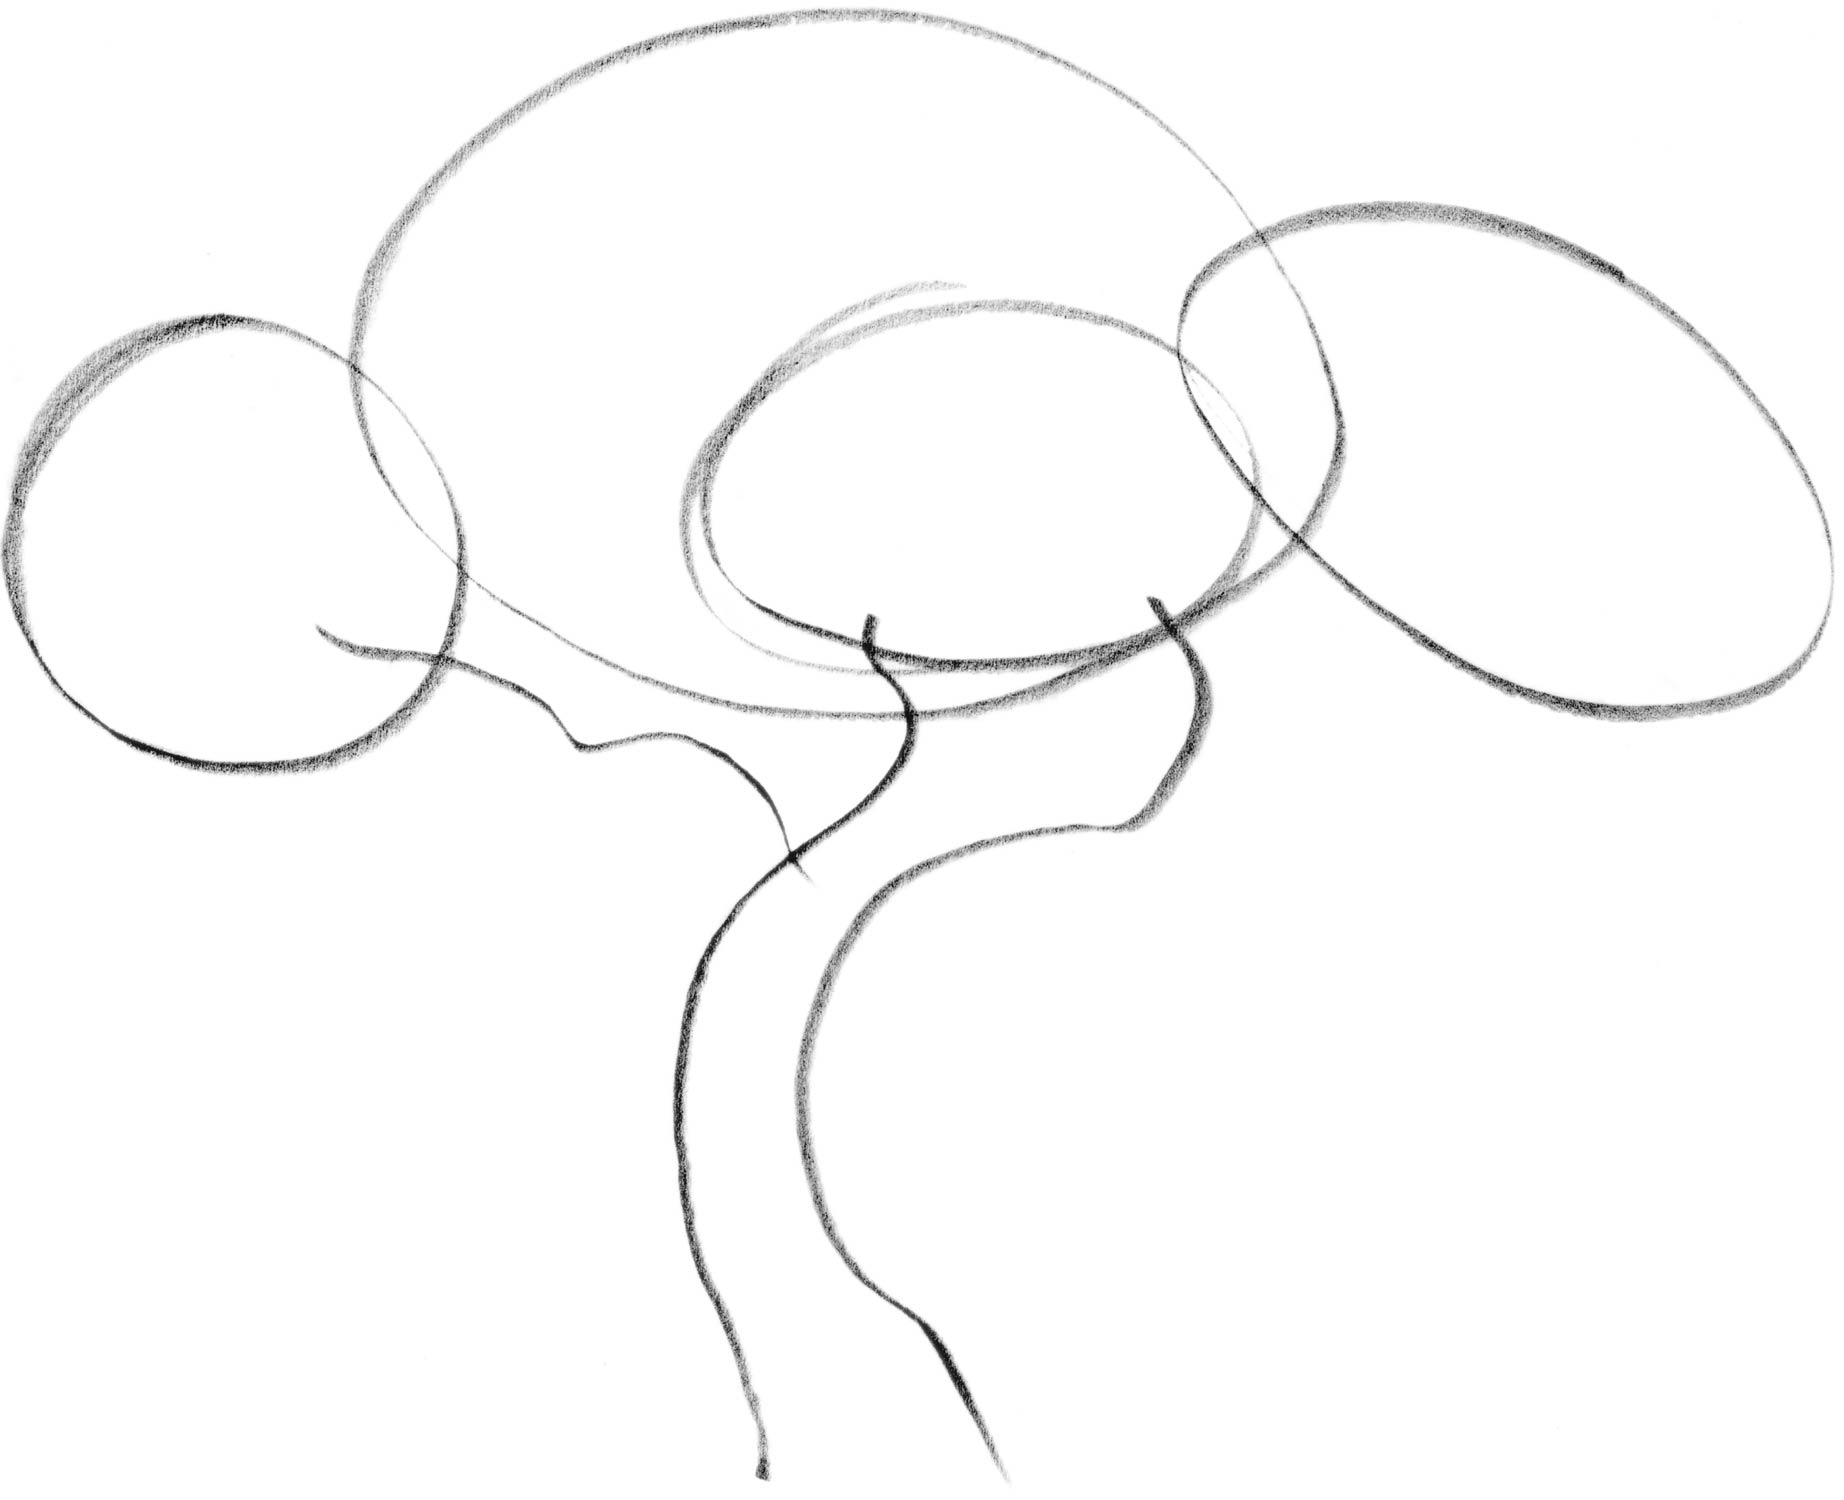
1. Lightly sketch ovals to show masses of leaves. This is called blocking in. Next, sketch light guidelines lines, or action lines, for the curved trunk and branches.
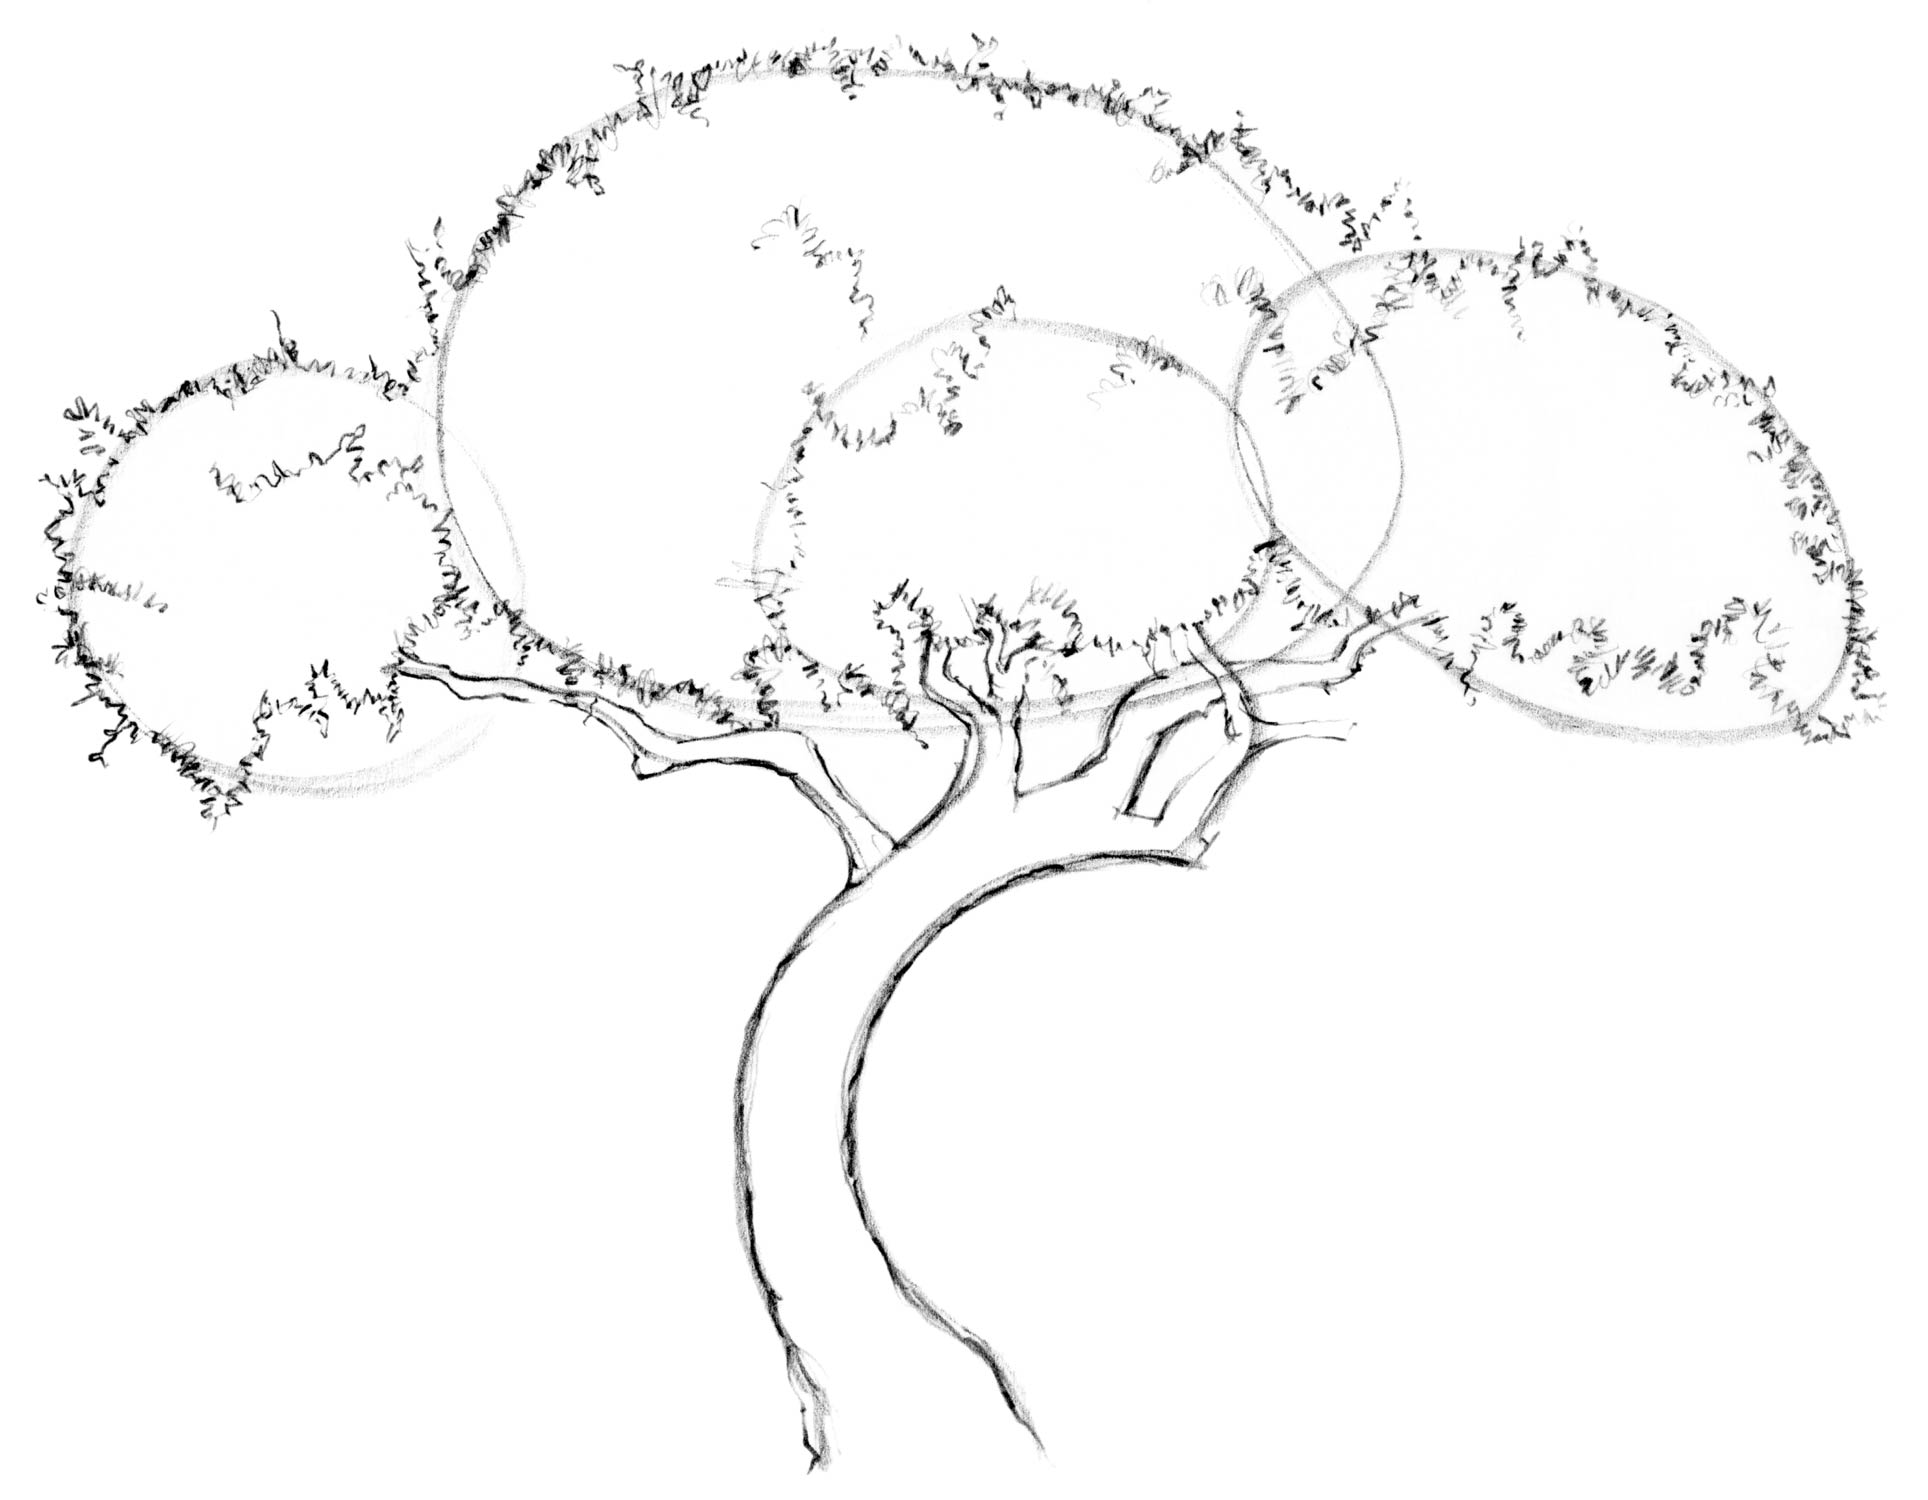
2. Take time to draw the contour edge outlines for the leaves. Next, carefully outline the trunk and branches. Some branches are behind others or hidden by masses of leaves. Press lightly with your pencil when drawing your outlines. This makes it easier to erase the shapes before drawing the shadows shown in step 4.
3. Before adding shadows, carefully draw darker contour edge outlines that form the trunk and branches. Draw contour lines to show their roundness. Add contour lines to show the texture and curves of the branches and trunk. Continue by drawing the areas with leaves. When you like what you’ve drawn, you can carefully erase all the guidelines.
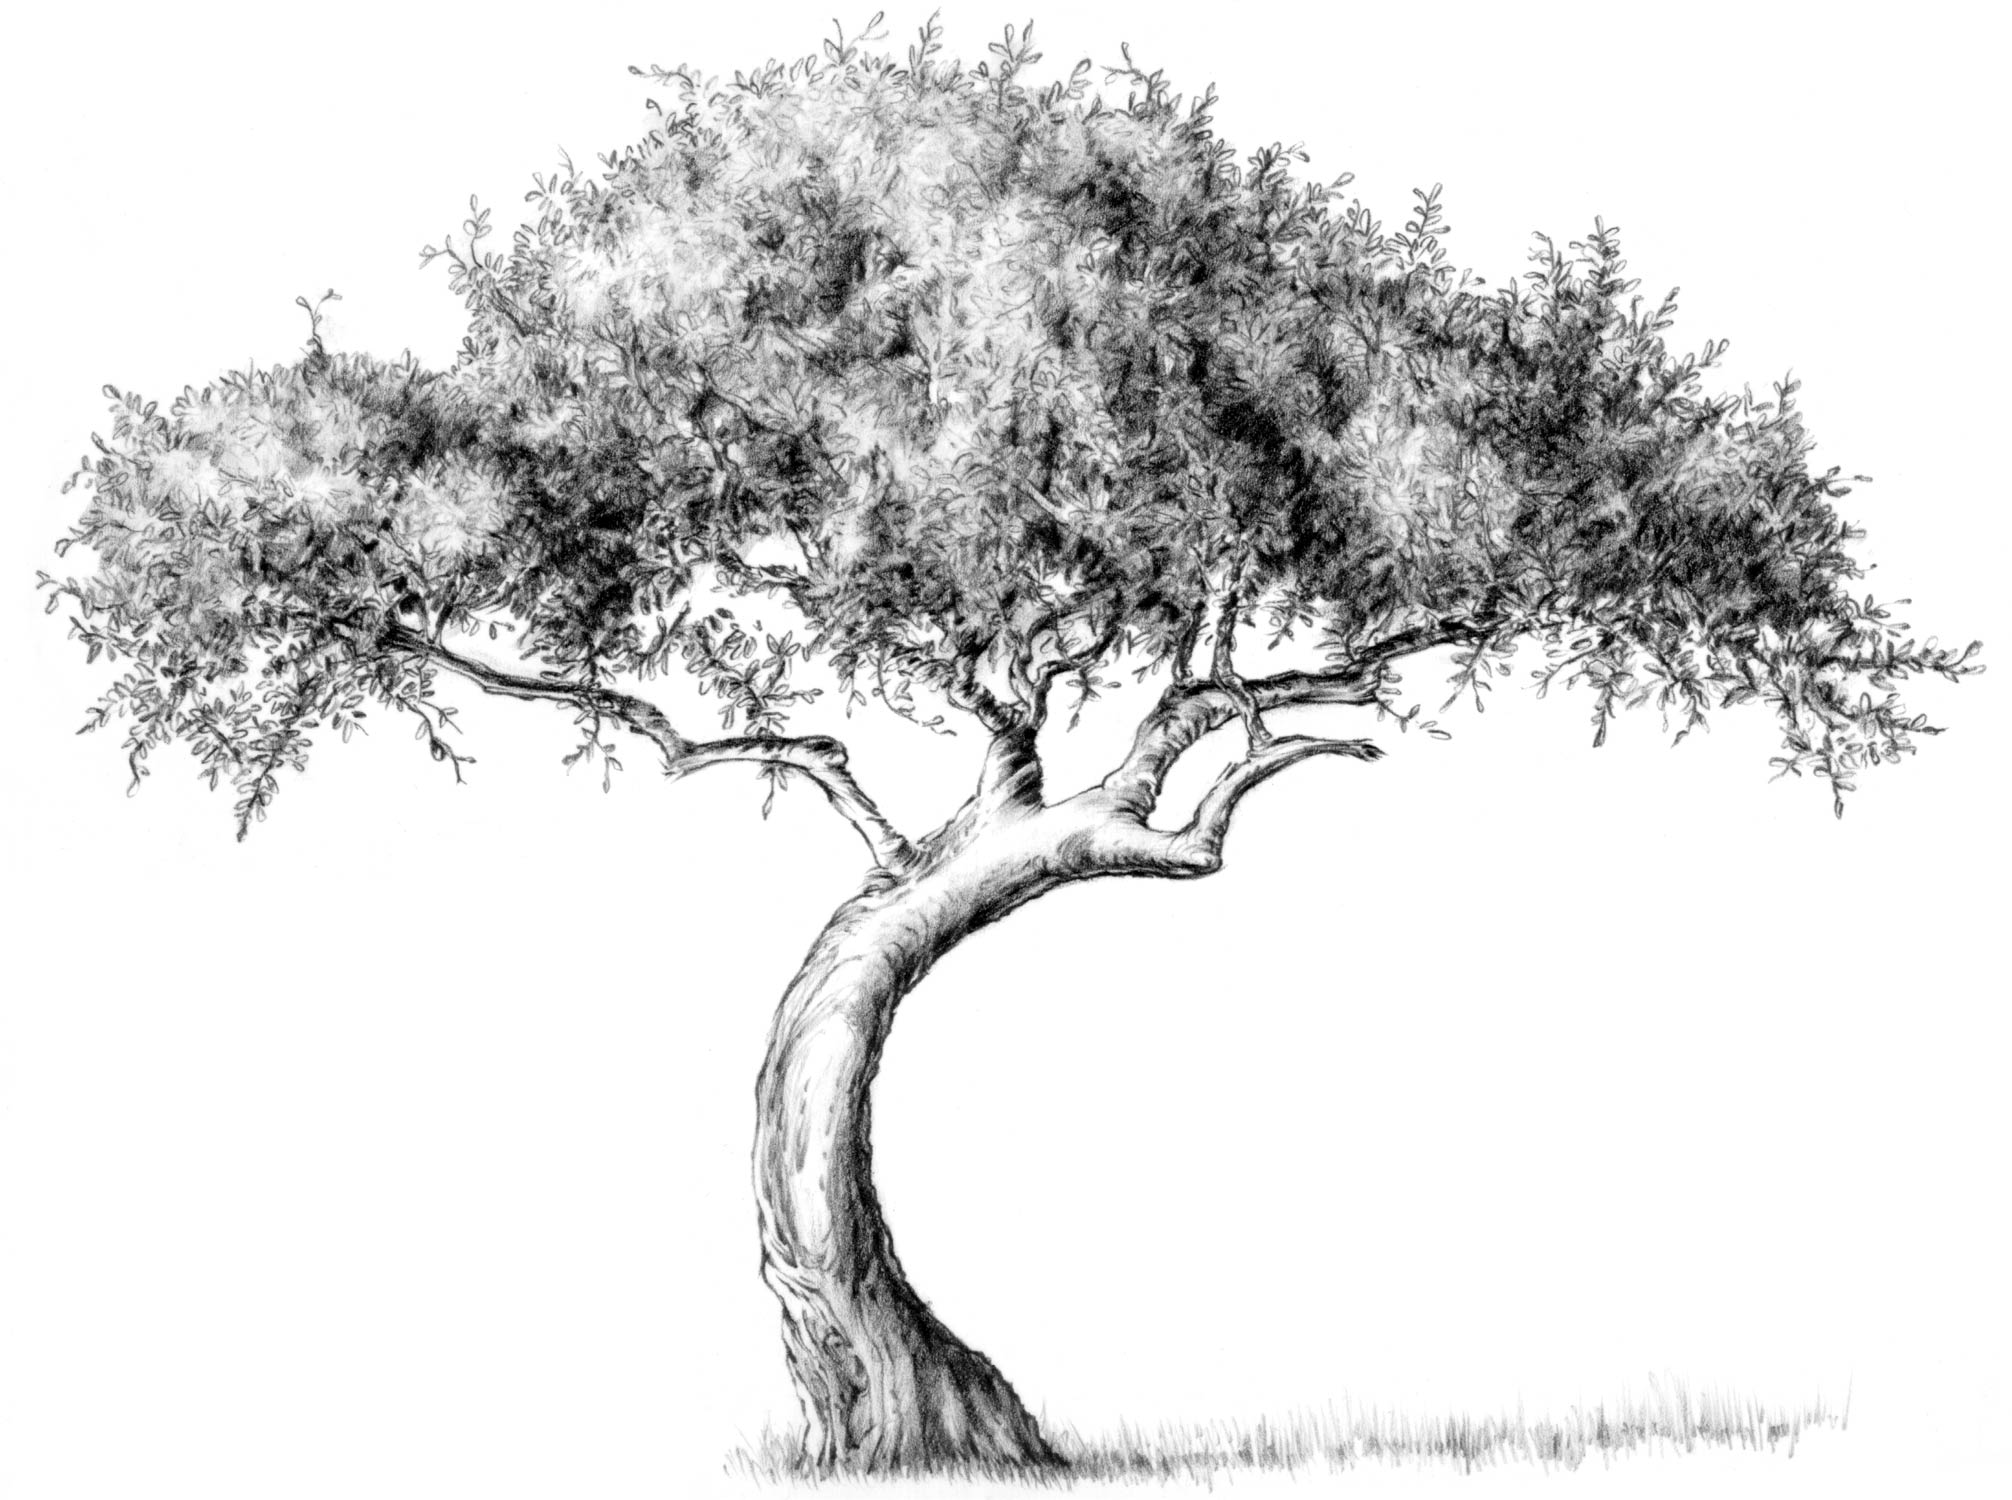
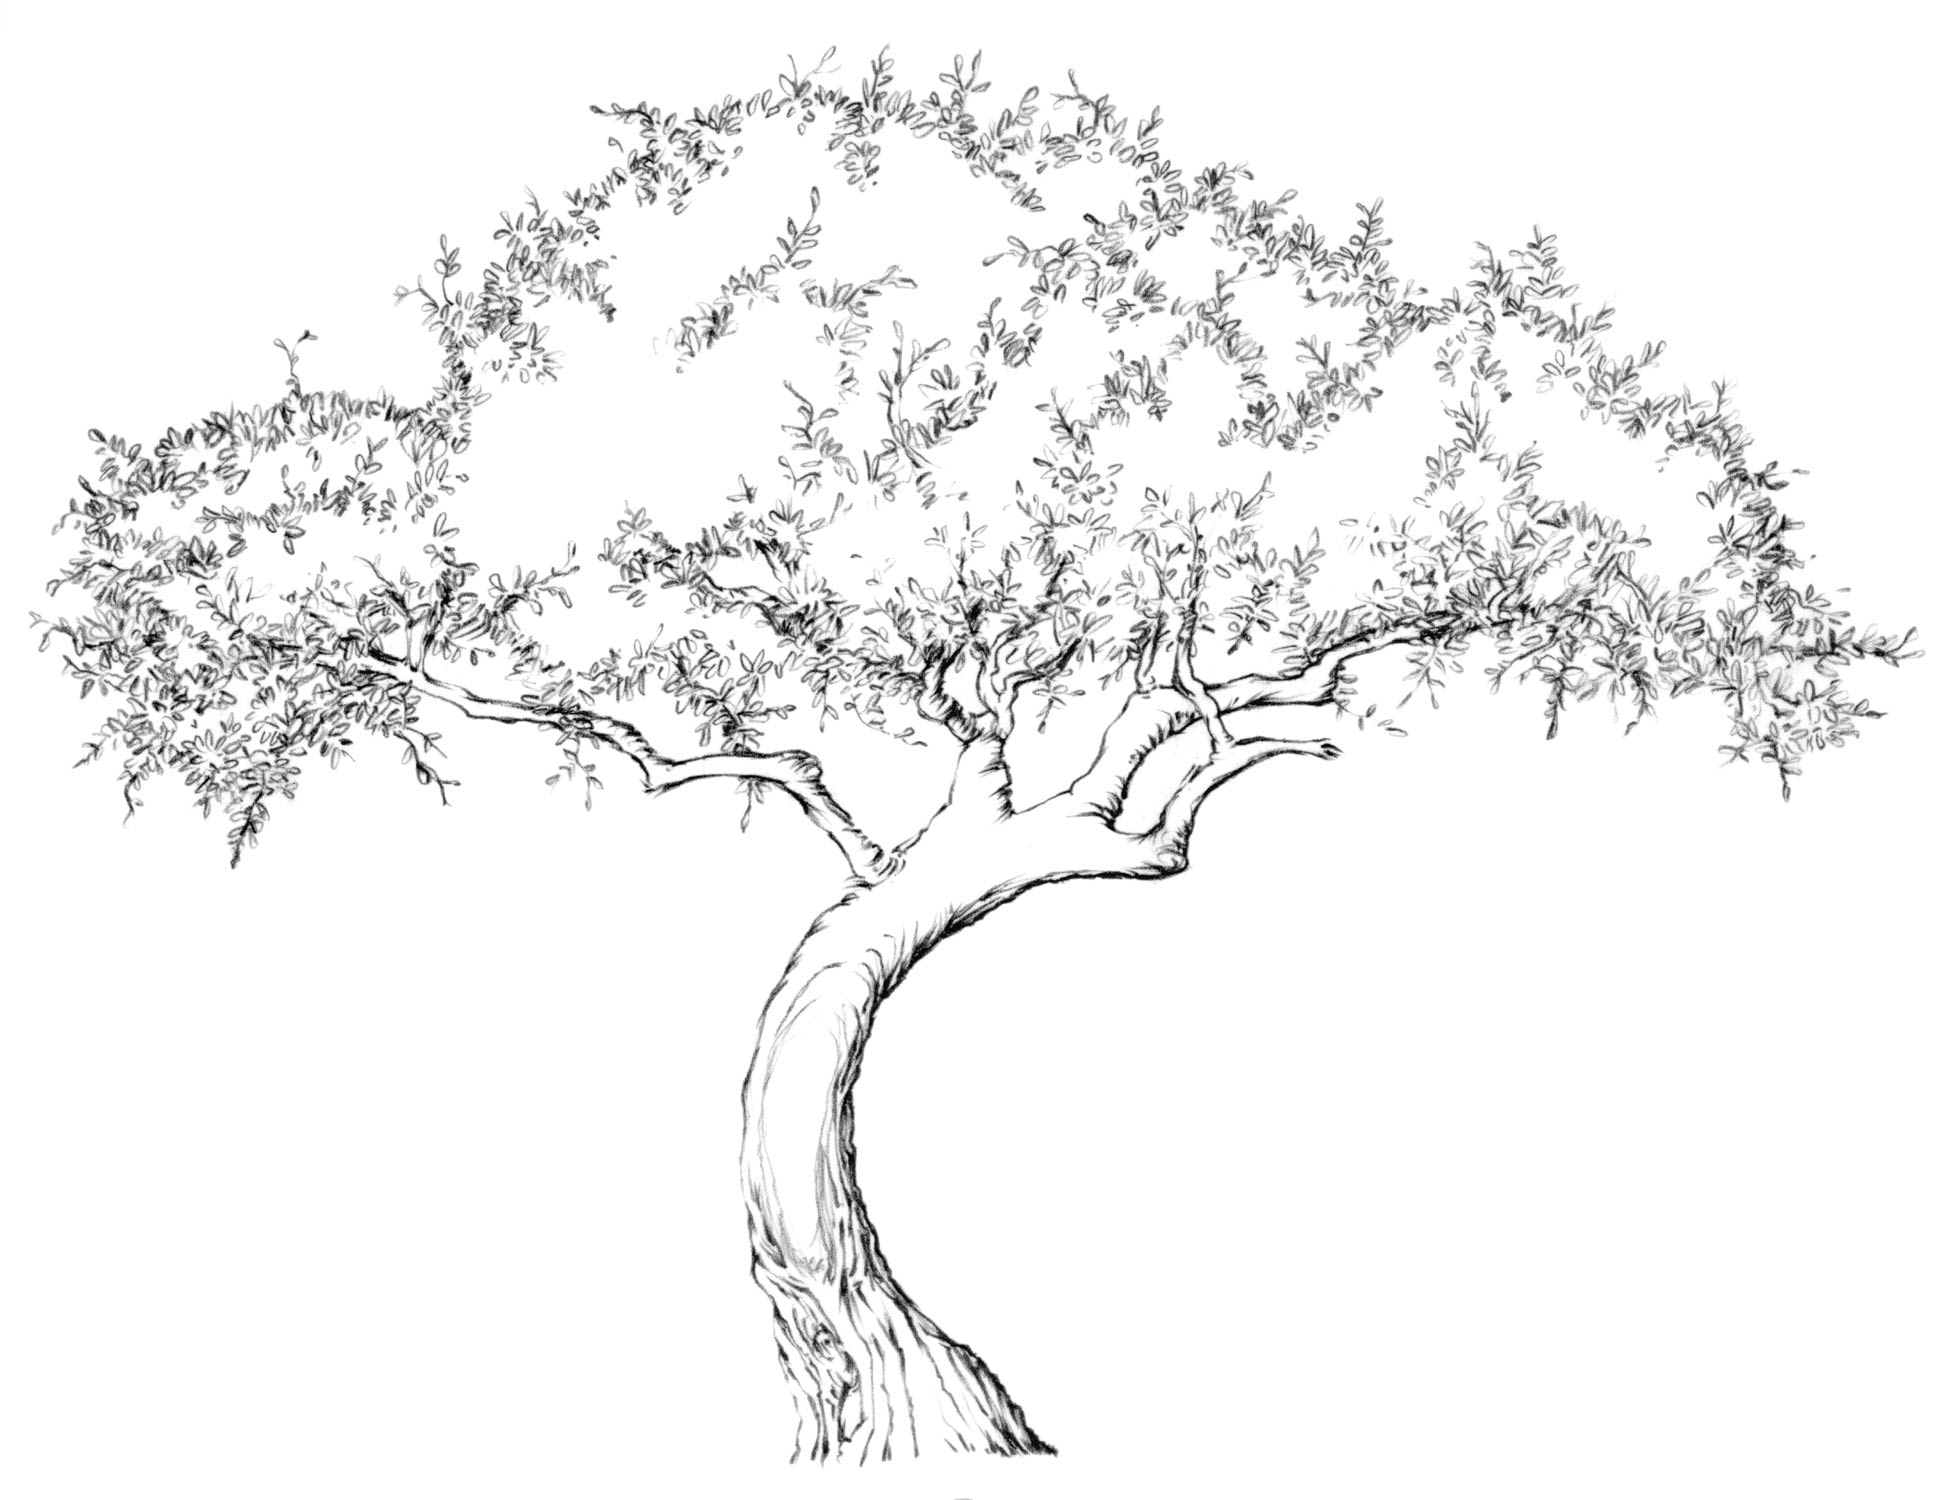
4. Start drawing shadows in areas where no light shines from the light source. Hold your pencil on its side, press firmly, and begin drawing the darkest shadows on the tree. Shadows are lighter where more light touches it. Look for shadows that show the form of the branches and trunk. Use less pressure on your pencil as you draw lighter shadows. Fade the shadows away to the white of the paper where there are highlights. Remember to draw the cast shadow on the ground, to the right of the tree.
Send your tree to drawing coach, Rob Court, for comments: Contact